Top 5 tips for using Cody with React
React is a popular frontend library used for building interactive user interfaces. React is a common choice for many organizations.
In this tutorial, we will build a React app that when given a keyword will generate tweets using GPT-3 . We will use Cody as our AI assistant, and learn about five tips to enhance our React development experience with AI.
Prerequisites
- Node.js installed on your machine
- Basic knowledge of developing web apps using React
- TypeScript (optional)
- An OpenAI API key.
- Cody AI assitant installed in your editor.
Cody overview
Cody is a coding AI assistant developed by Sourcegraph which has the complete context of your codebase, and can provide context aware answers. Cody has many features like chat to answer any questions, provides usefel code completions (code autocomplete), commands, and more. In this tutorial, we will be using many of these features to help build our app effectively.
Top 5 tips for using Cody with React
1. Add enough context
The first tip while using Cody to keep in mind is always to provide the required context, which is info about the coding question or the bug, to get a helpful response. Cody uses three types of context to give the result keyword context, graph context and the codebase context. Codebase context is used by Cody when the repository is indexed, while in another case, the keyword context is used. For this project, all of the responses provided by Cody will be using the keyword context.
Let's see a few examples of Cody's input prompt, how to provide enough context and build the search bar for our tweet generator app.
The first question I asked Cody is: I want to build a React app using GPT-4, which can generate the tweet content for me to post on Twitter. Tell me how to begin with this app and how I can develop it in the best possible way.
 | 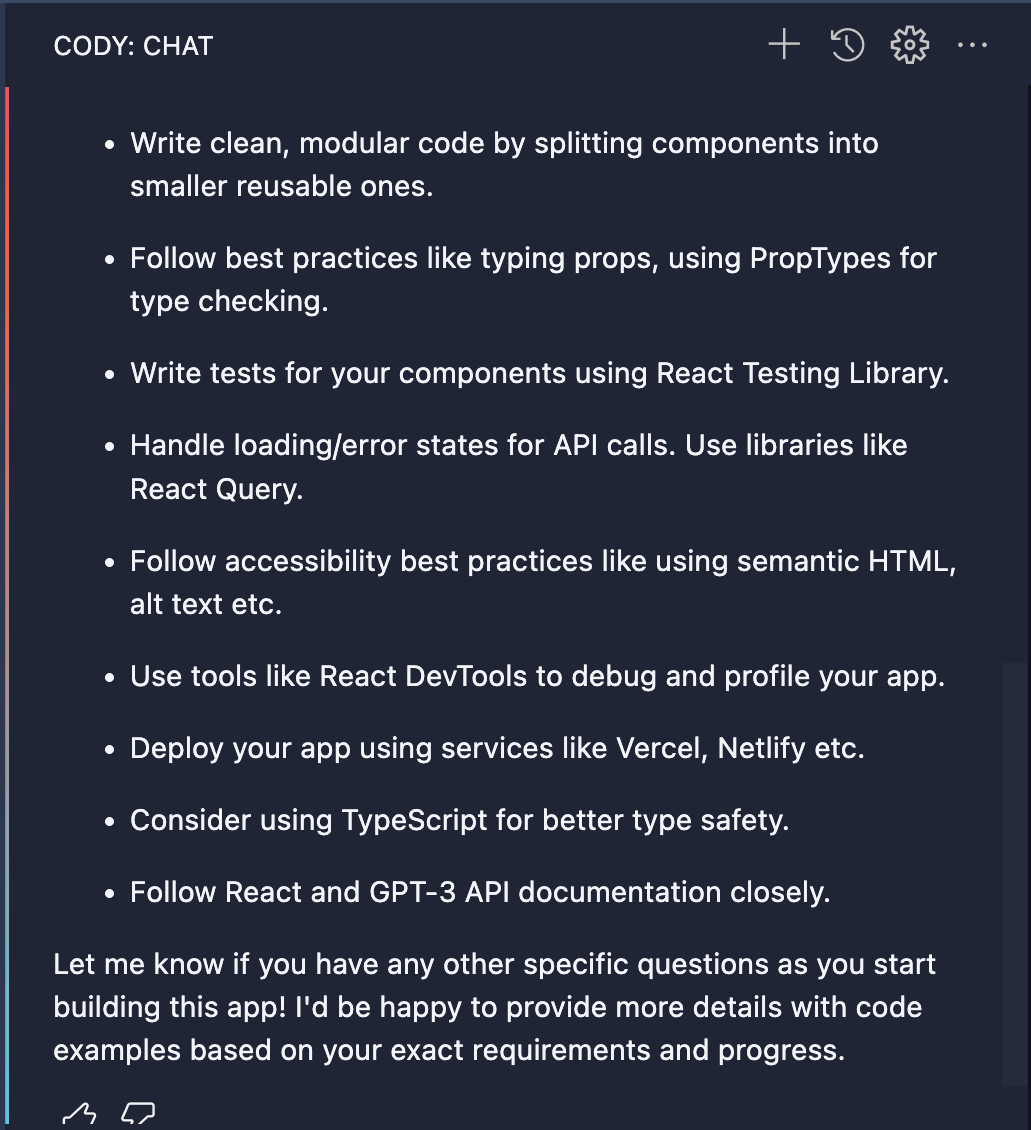 |
Let's break down this prompt and understand how it has enough context for the answer.
- Libraries info is mentioned
- Application details are mentioned
- The question is clearly asked
You can see that all the required context is mentioned, so it gave us the proper result by telling about the starter point of the application as how to use GPT-4 from the openai npm package, and the other details to keep in mind. It also mentioned the testing, and the deployment method one can follow to deploy the application.
What if the same question is asked without providing enough context? Let's see the result with this question: I want to develop a React app to generate tweet content. Tell how to develop
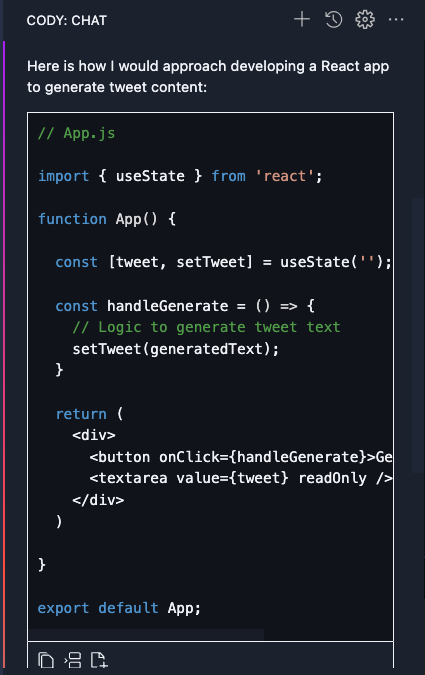 |  |
You can see that it responded but it could be better so further extra steps would be required to get the desired result.
You can see in the above examples how providing enough context with the prompt can result in a better response from Cody. Let's now build the search bar for this application, which would accept comma-separated keywords for generating the tweet content and the app UI.
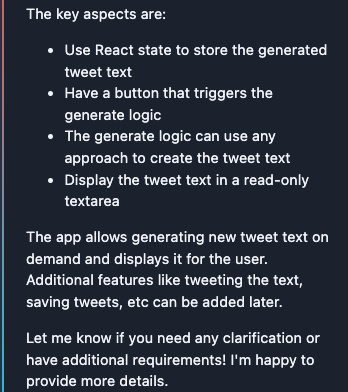
I asked Cody first about the UI components I needed to develop for this app, and looking at the results, it provided a helpful response.
 |
You can find the code for each UI component here.
Next, I asked about how to build the search input box along with a submit button. Cody provided me with the code snippets of the state to be used, the different UI components and the handler function. So, definitely a good job here too!
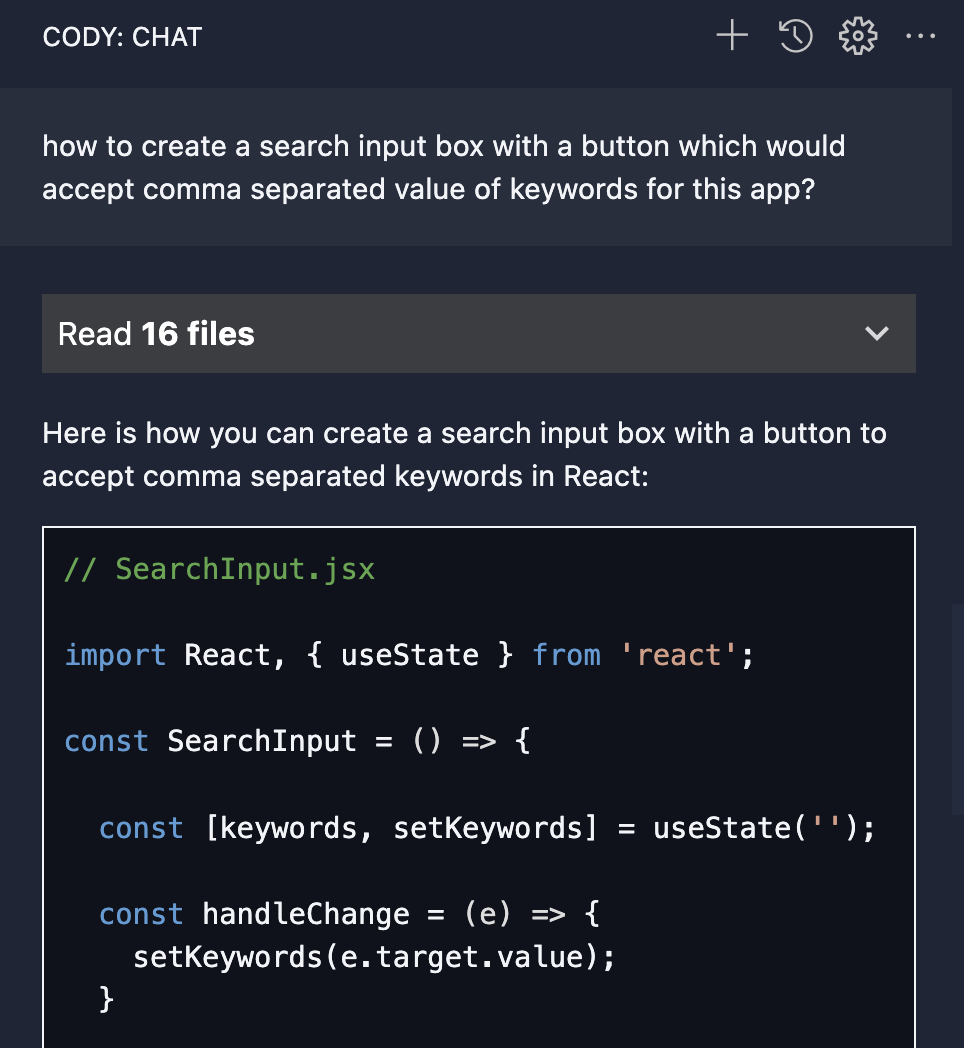 | 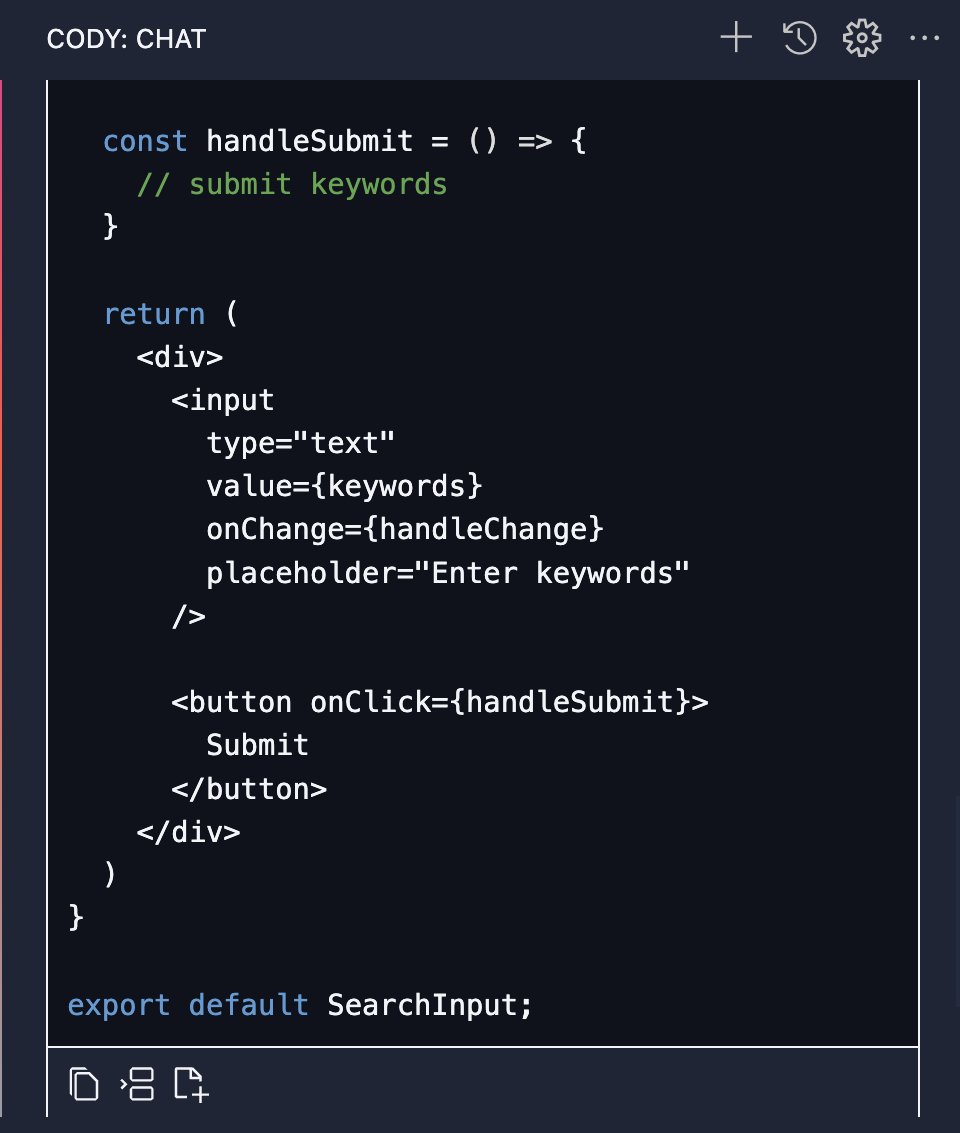 |
One thing to notice here is that now, for the subsequent prompt input, we are just using this app, and it has the context of the app. This is because whenever Cody answers a question, it considers the previous input of the same chat as a context, too.
The Home.tsx code till now would look like this:
import React, { useState } from "react";

import SubmitButton from "./components/SubmitButton";
import Footer from "./components/Footer";
import Header from "./components/Header";
import SearchInput from "./components/SearchInput";

const Home = () => {
  const [keywords, setKeywords] = useState("");

  const handleInputChange = (e: React.ChangeEvent<HTMLInputElement>) => {
    setKeywords(e.target.value);
  };

  const handleInputSubmit = () => {
    console.log(keywords);
  };

  return (
    <div className="home">
      <Header />
      <div className="content">
        <h2>Create Viral Tweet Content With Keywords</h2>
      </div>
      <div className="input_container">
        <SearchInput
          placeHolder="Enter Keywords"
          value={keywords}
          handleChange={handleInputChange}
        />
        <SubmitButton
          buttonText="Generate Tweet"
          handleClick={handleInputSubmit}
        />
      </div>
      <Footer />
    </div>
  );
};

export default Home;
2. Input clear prompts
The second tip is that whenever you use Cody, constantly input clear and concise prompts. Let's look into some example prompts that we will use with our app to make this clear.
I input Cody this prompt: I want to use the keywords from the input to generate the Tweet content. Write me the code for it.
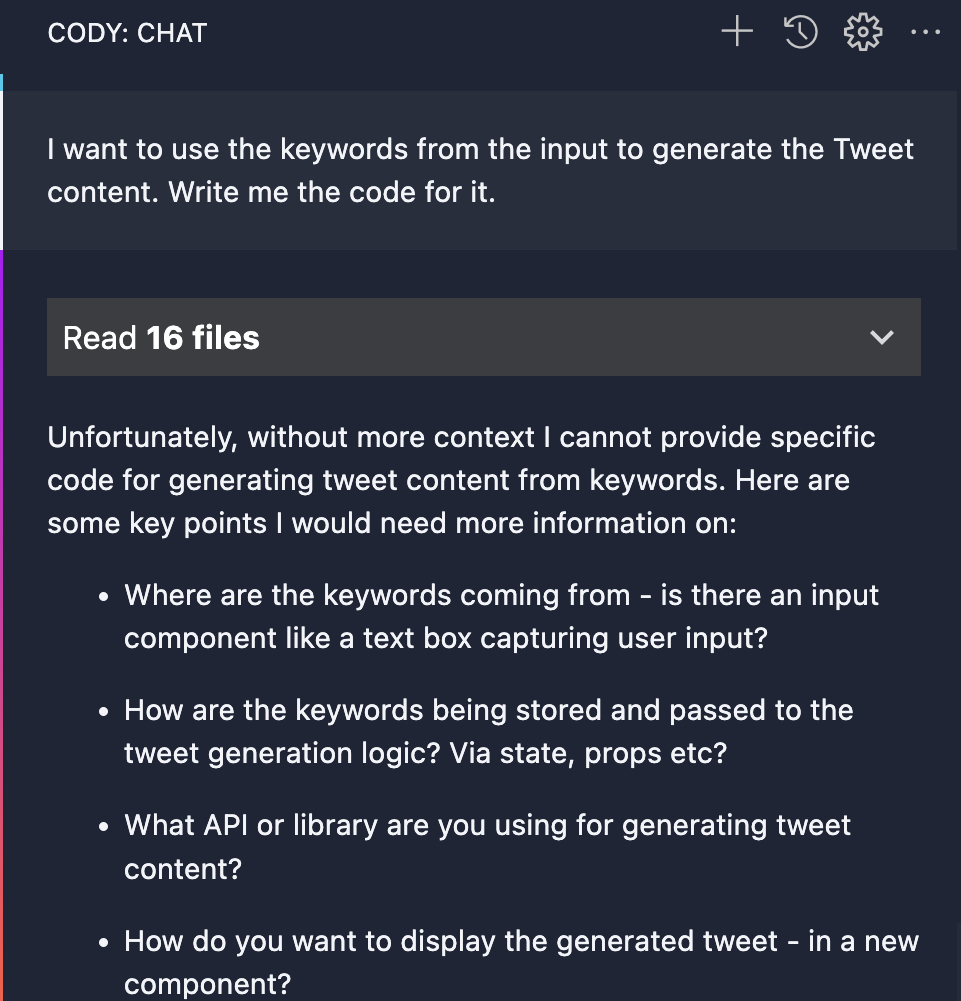 |  |
You can see that it was not able to generate any code as it is asking for more clear prompt details so can provide helpful code which can be used. What if we clarify in the prompt that it should be for the React app?
The updated Cody prompt: I want to use the keywords from the input to generate the Tweet content using the openai npm package in a React app. Write me the code for it.
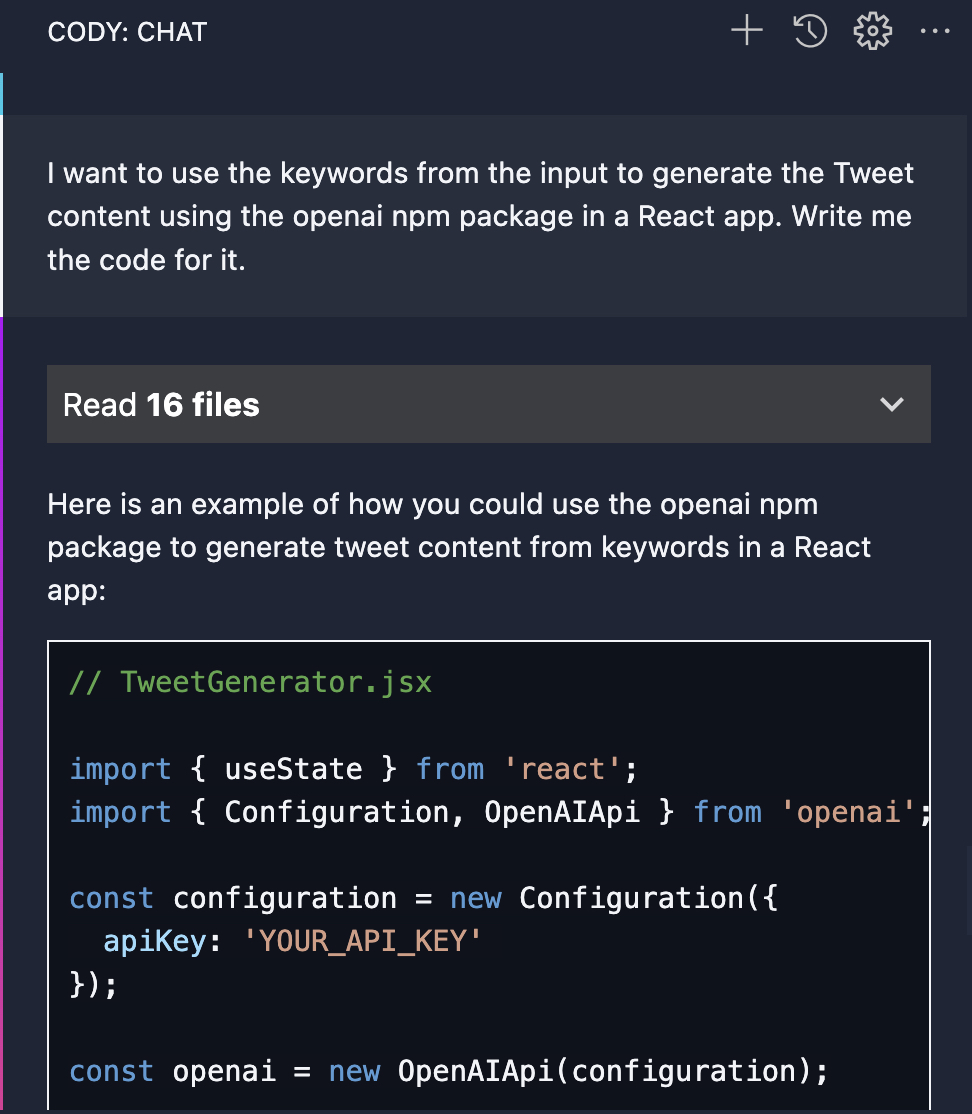 | 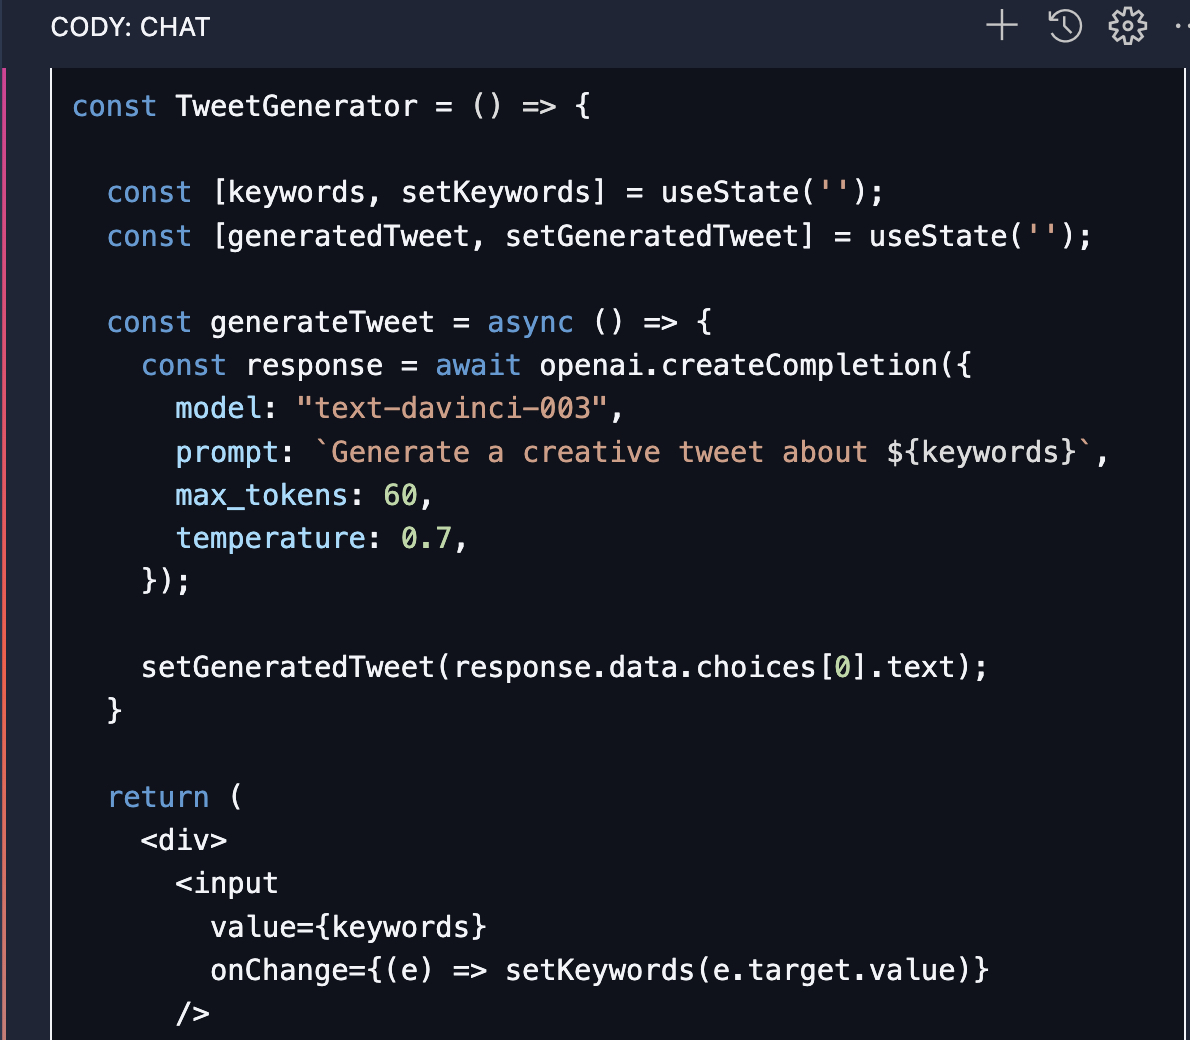 |  |
A small changes in prompt made huge difference in the result. The results it gave is mostly perfect which can be used. Awesome job by Cody here!
This is the generateTweet function for our app:
  const generateTweet = async() => {

    const response = await openai.chat.completions.create({
      messages: [{ role: 'user', content: `Generate a viral tweet using the keywords: ${keywords}` }],
      model: 'gpt-3.5-turbo',
    })

    const tweet = response.choices[0].message.content;

    console.log(tweet)
  }
This is why it is always good to keep in mind that you add as much clarity as you can in the prompts to get a better response.
So now, we are done with 80% of our app, and we need to render the generated results using the Twitter Card UI component.
3. Use commands effectively
The commands is one of the favourite features of Cody for many users because of it being so developer-friendly to use. You can use commands to ask a question, fix a bug, make a refactor or edit any portion of your code.
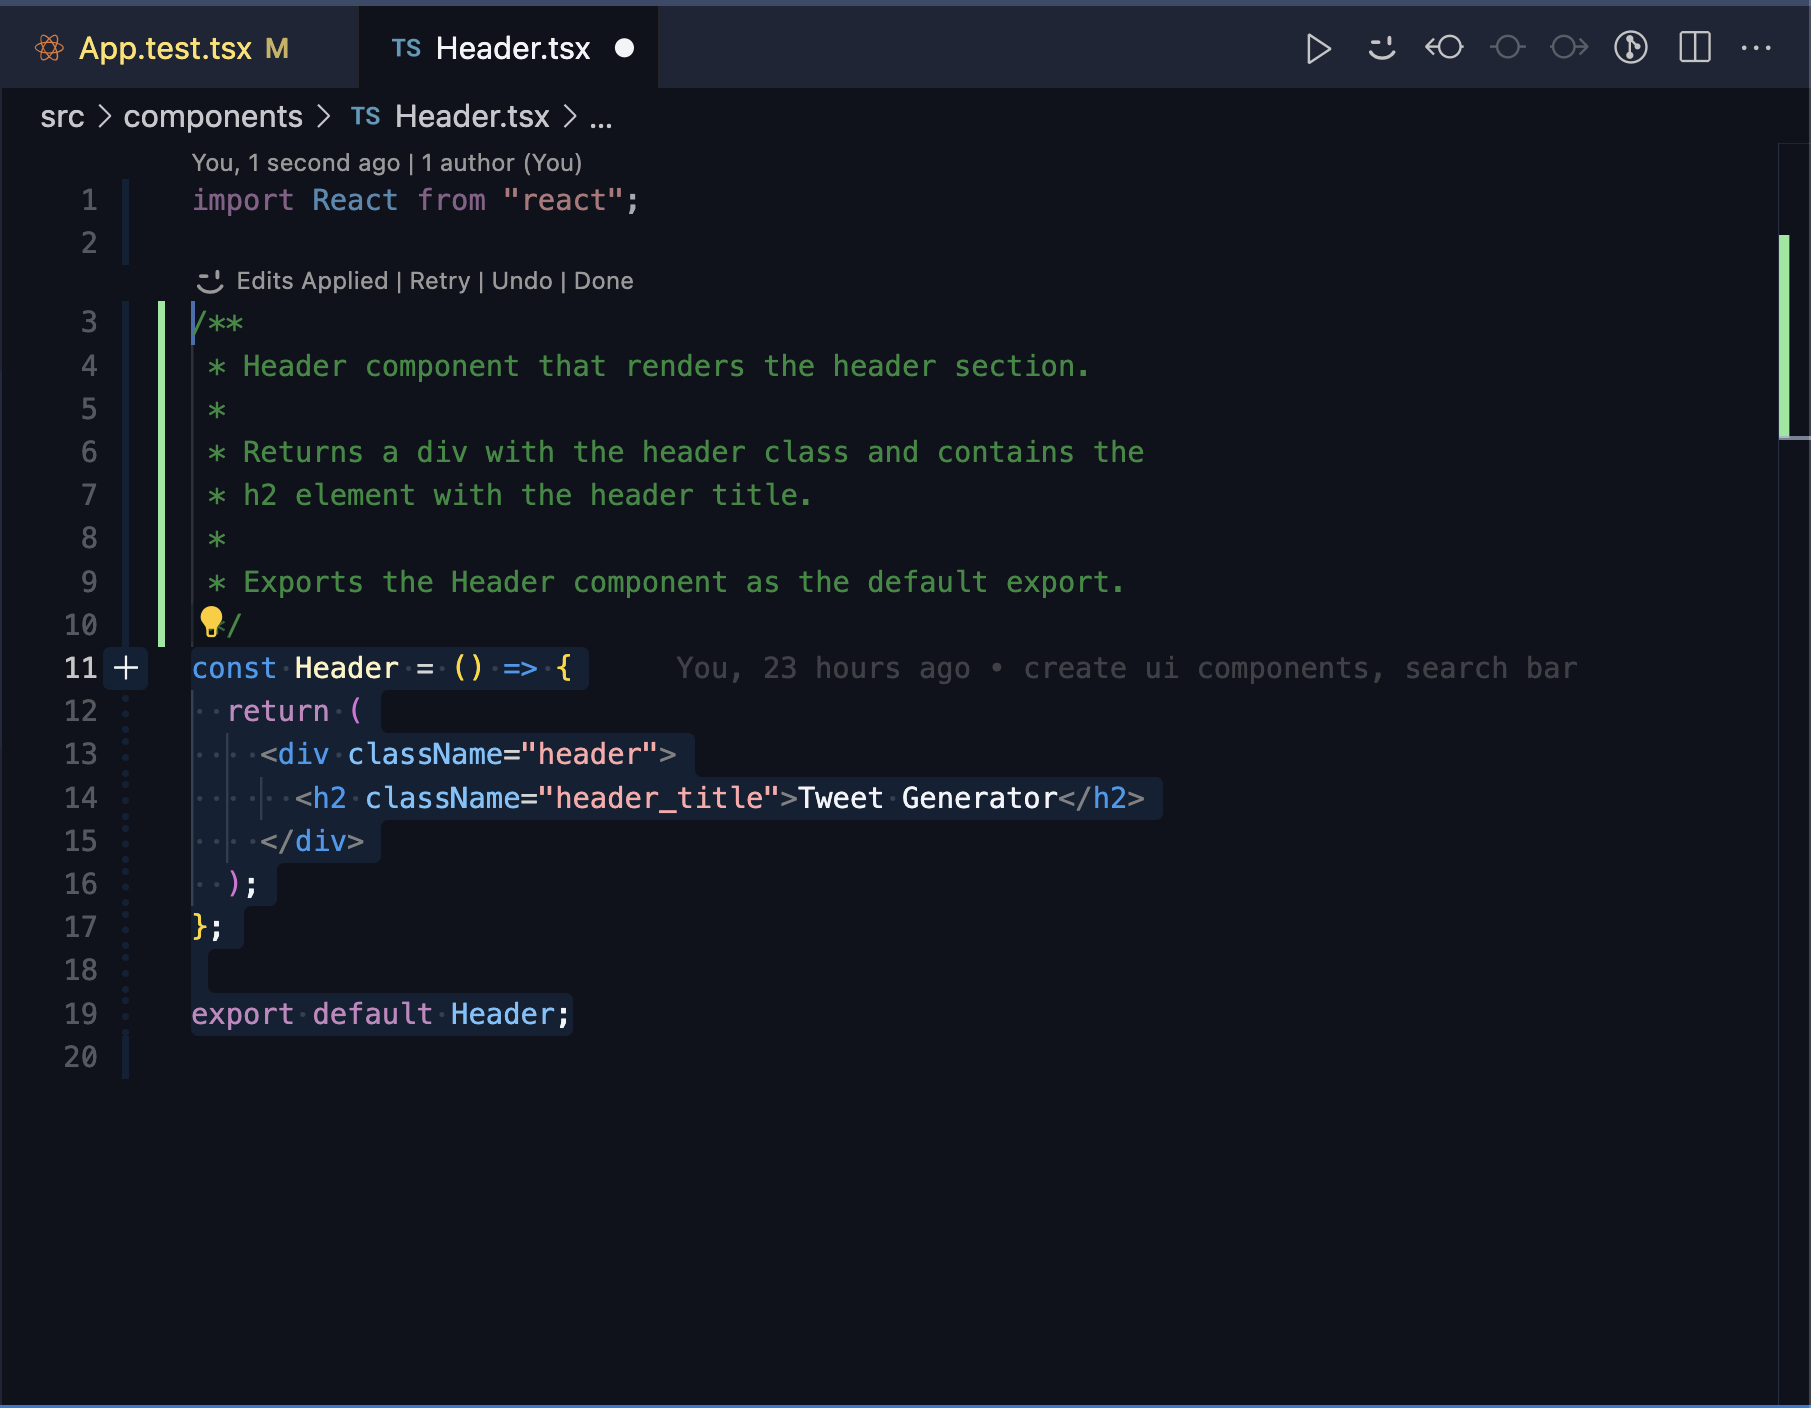
Let's see if I can use the /edit command of Cody to edit the Home component to render the generated tweet and also hide the input search box and button when it is being displayed.
Cody prompt for the /edit command: Update the Home component to render the TweetCard in the UI below the header. Also, hide the input box and the button using a state when the Tweet is rendered.
 |
You can see in the result how Cody considered the selected code and the prompt to update the code correctly, which will render the tweets. It also added a state variable to hide the search box. There are some minor typos which Cody did, such as using the wrong props name of the TweetCard, which can be updated easily. So, it's 98% CORRECT results with a 2% typo. This is how Cody can help you improve your productivity.
You can also use the Cody inline chat feature to ask any question related to any section of the codebase you have.
 |
There is a list of other Cody commands which you can use as per your use case.
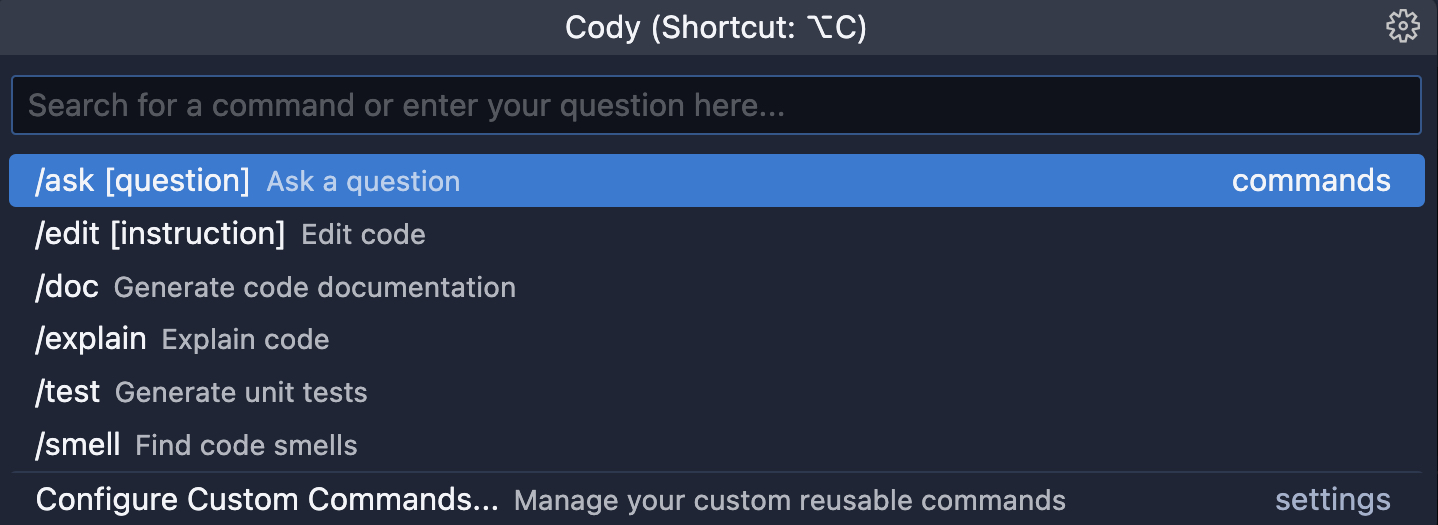 |
What if I want to create any commands of my own? So, the good thing is that's also possible with Cody. You can create your custom commands with your prompts and different configurations in a simple JSON format. You can check more about the custom commands here.
4. Wrap up the project
Whenever you're working on a project or a feature, after you finish the development, there are many other things to take care of, like writing documentation, adding tests, completing TODO, etc. Cody can be a great help and save ample time for you.
Let's create a custom command to add tests for our designed app components, which we can use to add all our tests. You can directly use the /edit commands with the prompt, but it's always a good idea that if you are doing something repetitively with Cody, then create a custom command for it.
Custom Command: /add-test
{
  "commands": {
    "add-test": {
      "prompt": "Write a unit test for the selected React component.",
      "context": {
        "codebase": true,
        "selection": true,
        "currentDir": false,
        "openTabs": false
      },
      "description": "Add test for the app components."
    }
  }
}
This is what a custom-commands JSON looks like after creating one. You can directly use this by adding it to the cody.json file.
The /add-test command is in action.
 |
Similarly, you can use the /doc command to add documentation to any components.
 |
You can also use the /edit command, which we used before for TODO or the /ask command to understand how to resolve this. Cody is always there to help you with any coding task you need!
5. Navigate codebases faster
The last tip I would like to discuss is how to navigate any codebase faster with Cody. Assume you developed this application and then passed it to another team or developer to further expand on it. Now, how can the developer understand this codebase faster and get the answers to questions like the components used, how tweets are generated, rendered, etc? For all this, Cody is a savior.
Let's see this with the React library codebase by Facebook, which we have used in this app.
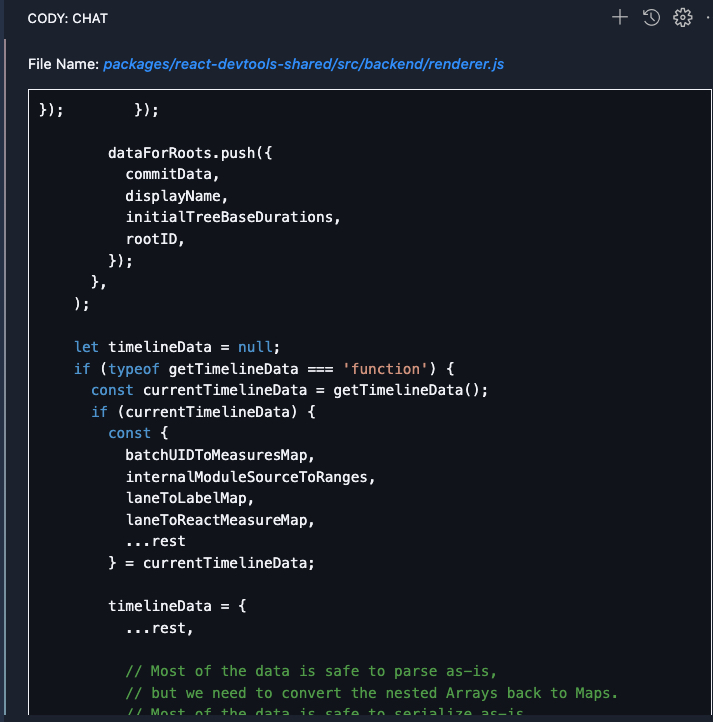
Question 1: Tell me how the React library is implemented using the current codebase as the context.
 |
You can see that Cody explained the React codebase in brief, as well as the structure of the repo and the algorithms this library uses.
Let's understand more about the DOM diffing algorithm.
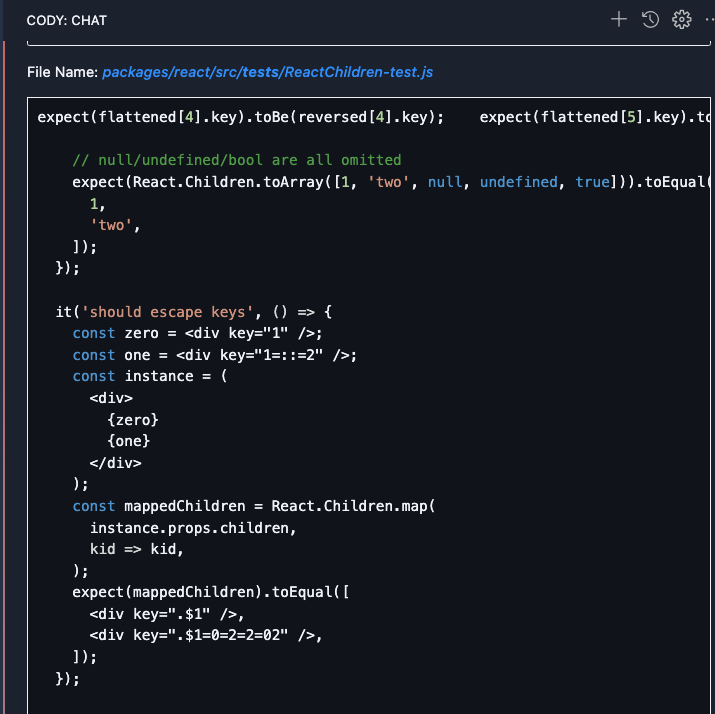
Question 2: Tell me more about the DOM diffing algorithms, and explain to me the code of it
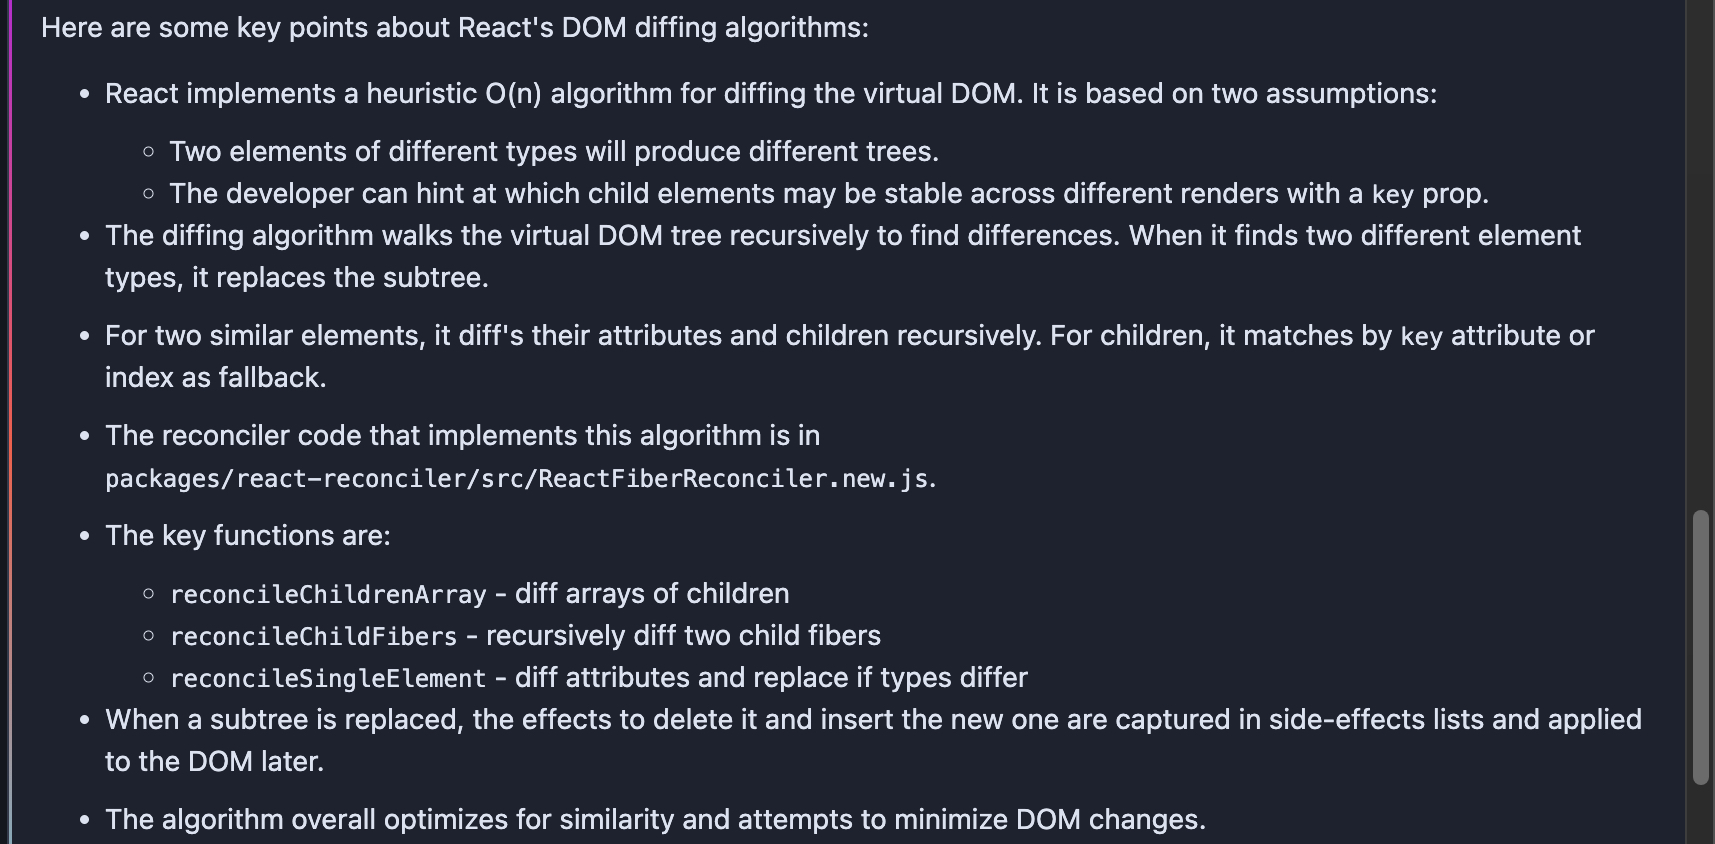 |
Cody explained the diffing algorithm in detail, its time complexity, and the different functions which are used.
You can also look at any function in detail using the prompt /search {keyword}.
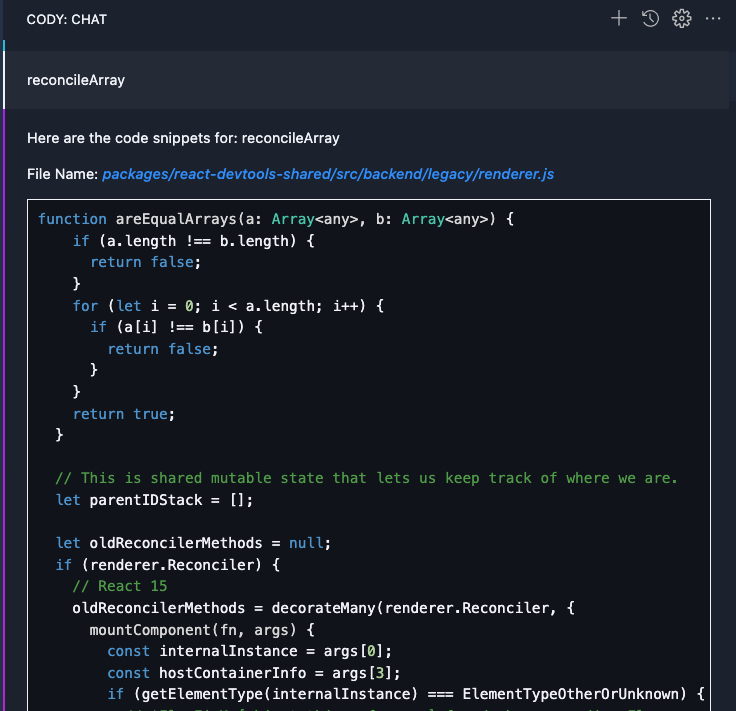 |  |  |
Conclusion
In the blog, we saw five different tips for using Cody as an code AI assistant for building React applications. The tips mentioned here can be used with any project, framework, or library. Cody can help you code faster, improve your productivity, and unlock new knowledge. Give Cody a try today!