The power user's guide to Cody AI for Visual Studio Code
As someone who writes code on a daily basis, I am always on the lookout for anything I can do to improve my workflow to be more efficient, faster, and more productive. Cody has transformed the way I write code in a lot of ways, but there is always room for improvement. In this post, we'll take a look at some tips and tricks to become a Cody power user.
If you aren't already familiar, Cody is a code AI assistant that knows your entire codebase and can help you write code, debug issues, create documentation, generate unit tests, and more. You can get Cody for free for various IDEs, but today, we'll focus on Visual Studio Code and the Cody VS Code Extension.
The most common way developers, including myself, are using Cody is for autocompletions. You start writing a line of code, and Cody provides a helpful code completion. Sometimes, it's a single line, sometimes multiple lines, but always trying to anticipate what you are trying to accomplish and help you do it faster.
Cody completion acceptance rate is as high as 30%, but Cody does much more than just autocomplete your code. Let's dive in and learn how to get the most out of Cody for VS Code.
To the right, to the right
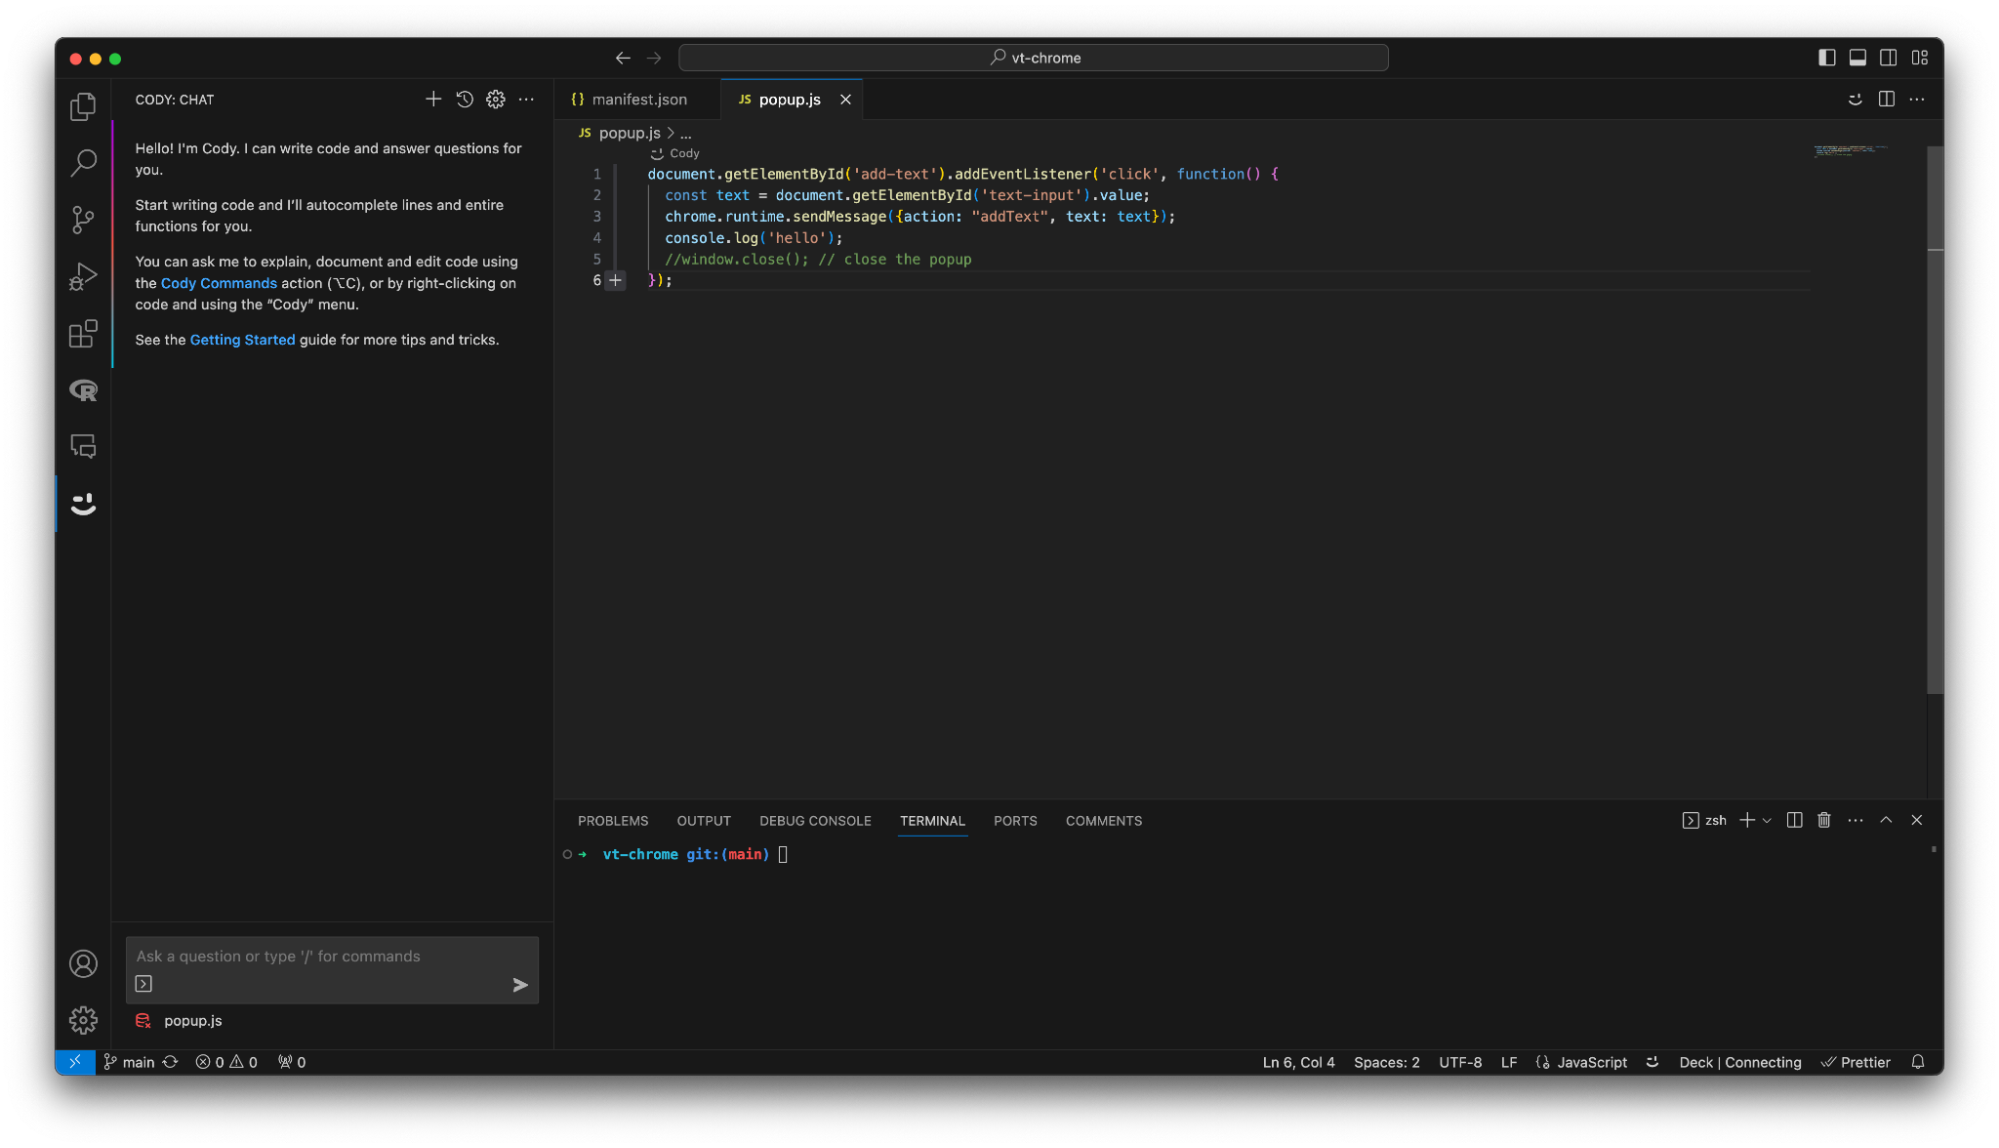
By default, the Cody AI Visual Studio Code extension will be installed alongside any other extensions in your IDE and will be accessible via the primary sidebar located on the left hand side of your IDE. I don't know about you, but whenever I am writing code, I typically have multiple files open and am constantly seeking additional files to reference or find existing implementations so I spend a lot of time in the Explorer panel.
Switching between Cody and Explorer constantly is not an ideal experience for me. Luckily, we can easily address this by moving the Cody extension to its own panel. To do this simply click and drag the Cody tab to your desired location. You can have the Cody extension live in either the secondary sidebar on the right or the bottom panel.
I prefer having it on the right hand side so I moved the Cody extension to the secondary side bar. Now I have access to both the Explorer to quickly and easily find the files I need and access to Cody Chat to ask questions and run commands.
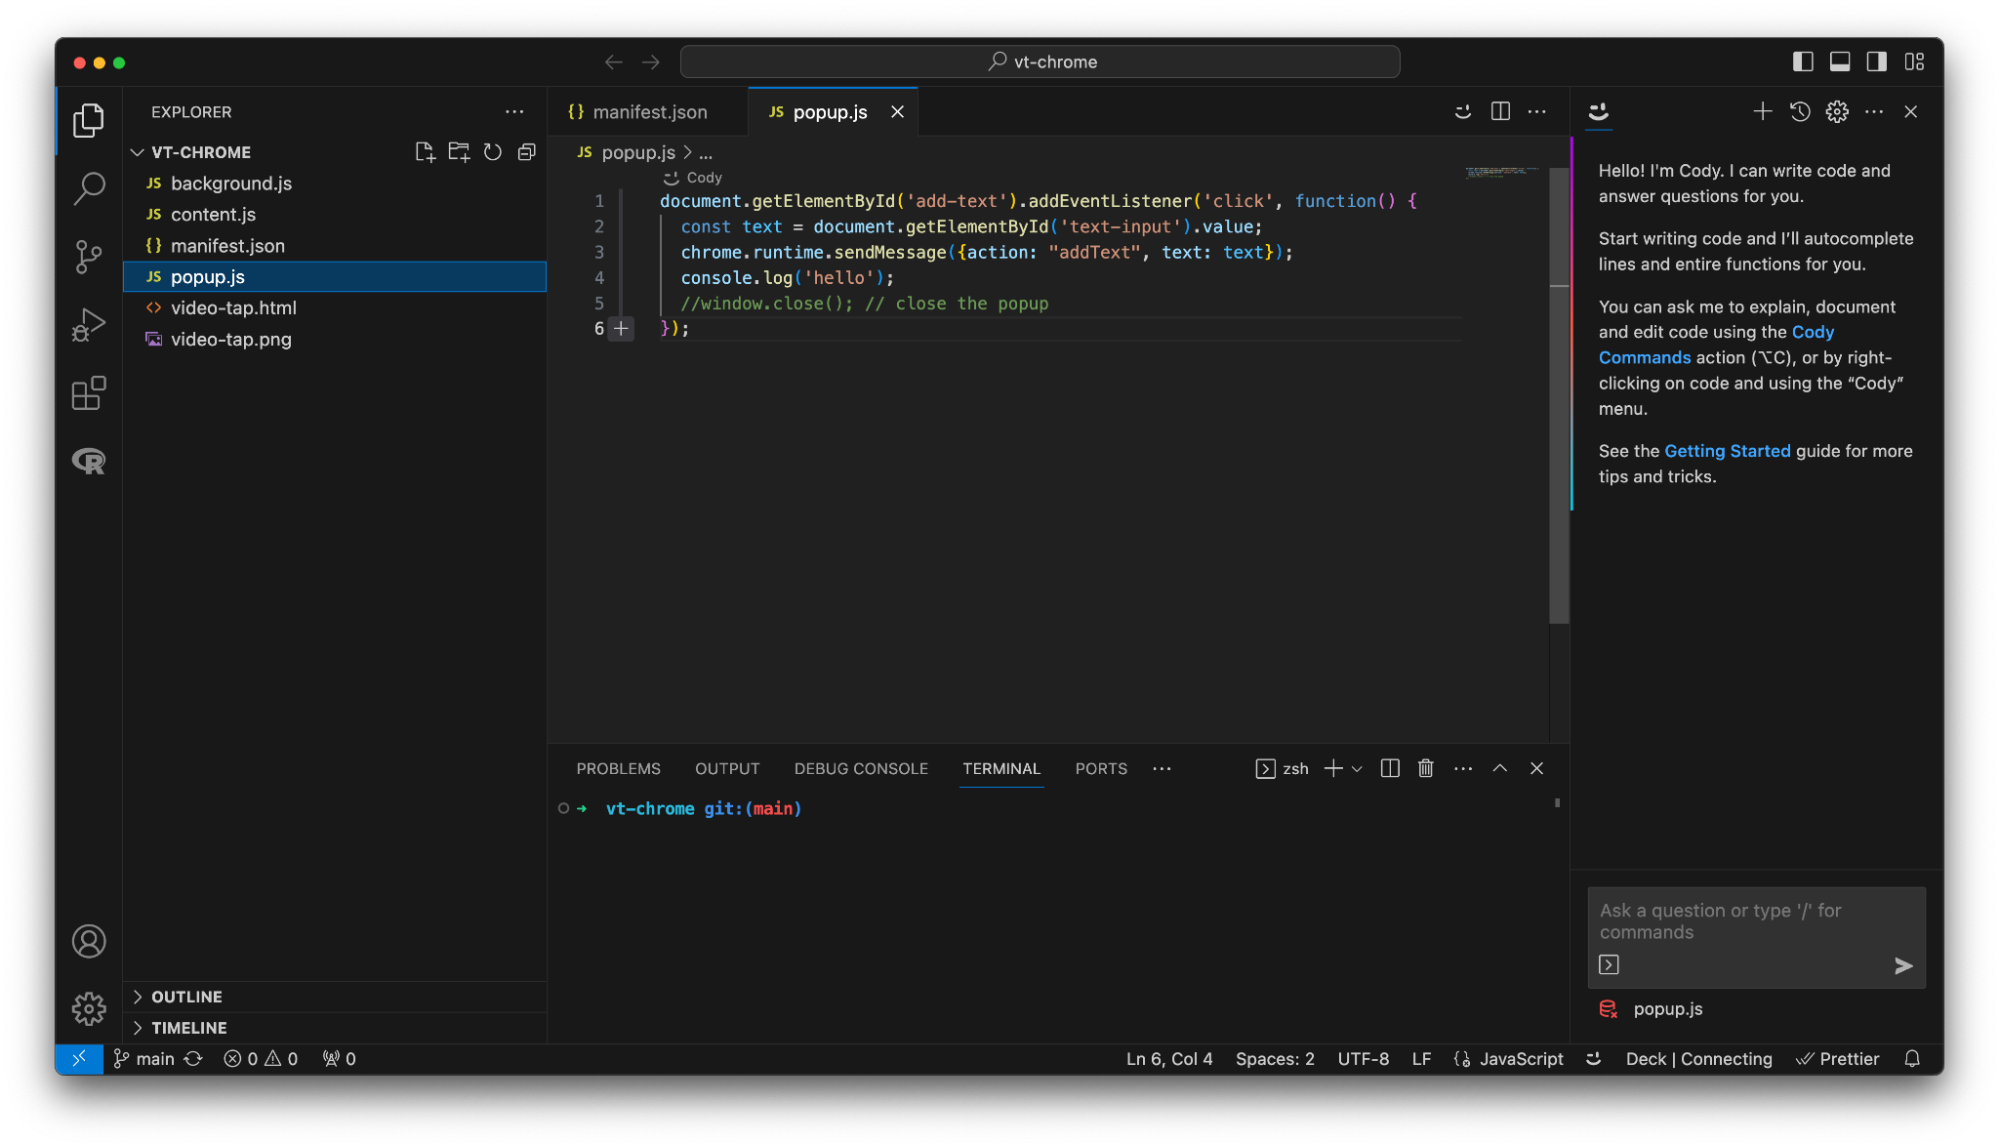
Splitting up the IDE into these three sections works great for me as it allows me to easily navigate my codebase, make changes to the code, and always have Cody at the ready to assist.
You can hide the primary and secondary sidebars when you need to focus on your code with the Command + B and Command + Option + B shortcuts. Additionally, you can use Cody inline without having to dedicate a panel for it.
Inline Chat
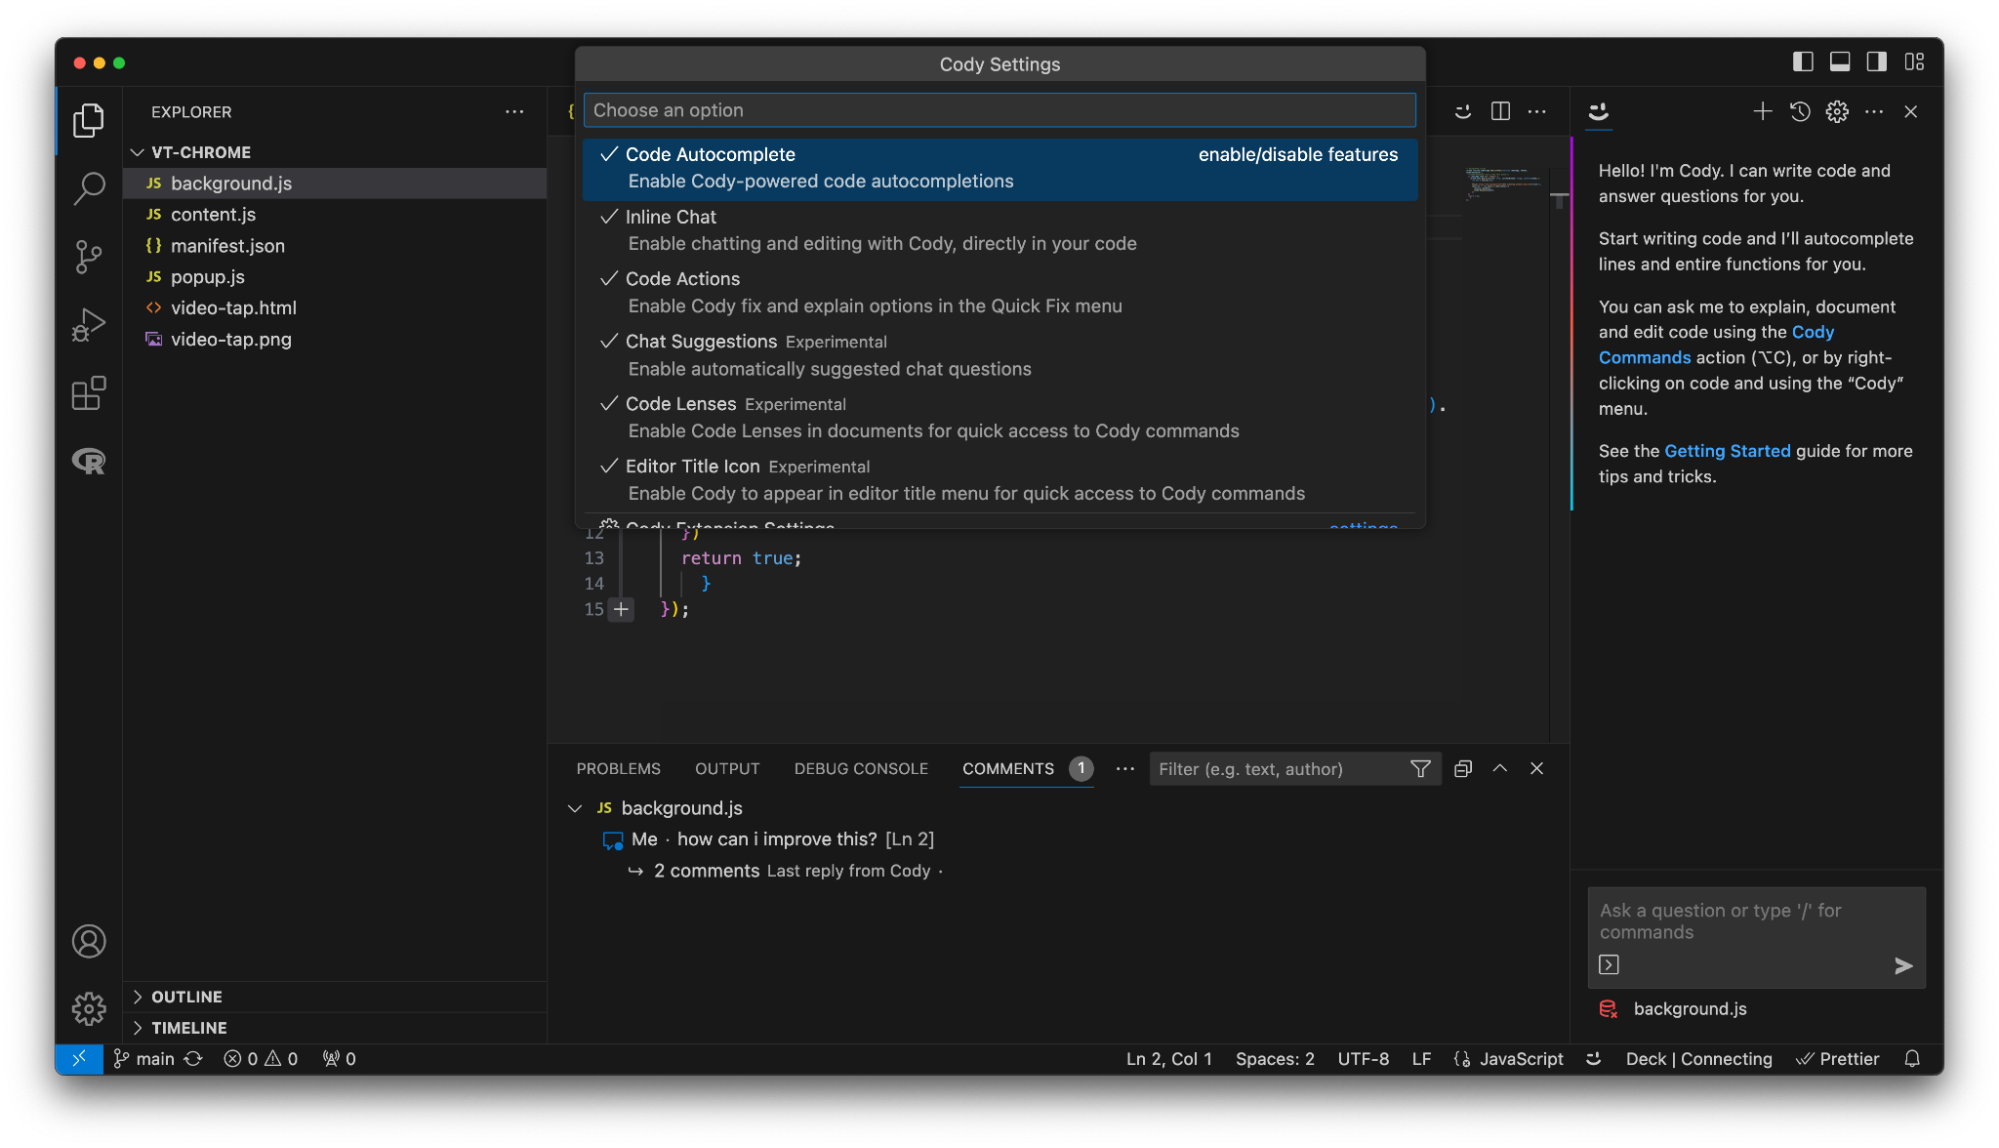
IDE real estate is precious and you may not want to dedicate a portion of your screen to Cody all the time. That's why we've also built inline chat functionality. To access inline chat, ensure that the feature is enabled by clicking on the settings gear in the Cody panel and clicking on the Inline Chat option. If it is enabled, it'll have a checkmark.
To use inline chat, click on + icon on the line of code you want to start the conversation on. This will automatically provide Cody with the correct context to give you a meaningful response. The inline chat functionality works similarly to the Cody Chat experience where you can ask questions about the code or run commands to clean up, edit, or fix the code.
Inline chat can be a great alternative if you are constrained by space or prefer a more minimal interface. We built Cody to be helpful, not get in your way. Inline chat also supports shortcuts, so if you want to start a new inline chat, hit Command + Shift + C to start a new inline chat. You can have multiple inline chats in a file, and I find this really useful when onboarding onto a new codebase and want to understand what the different functions are doing.
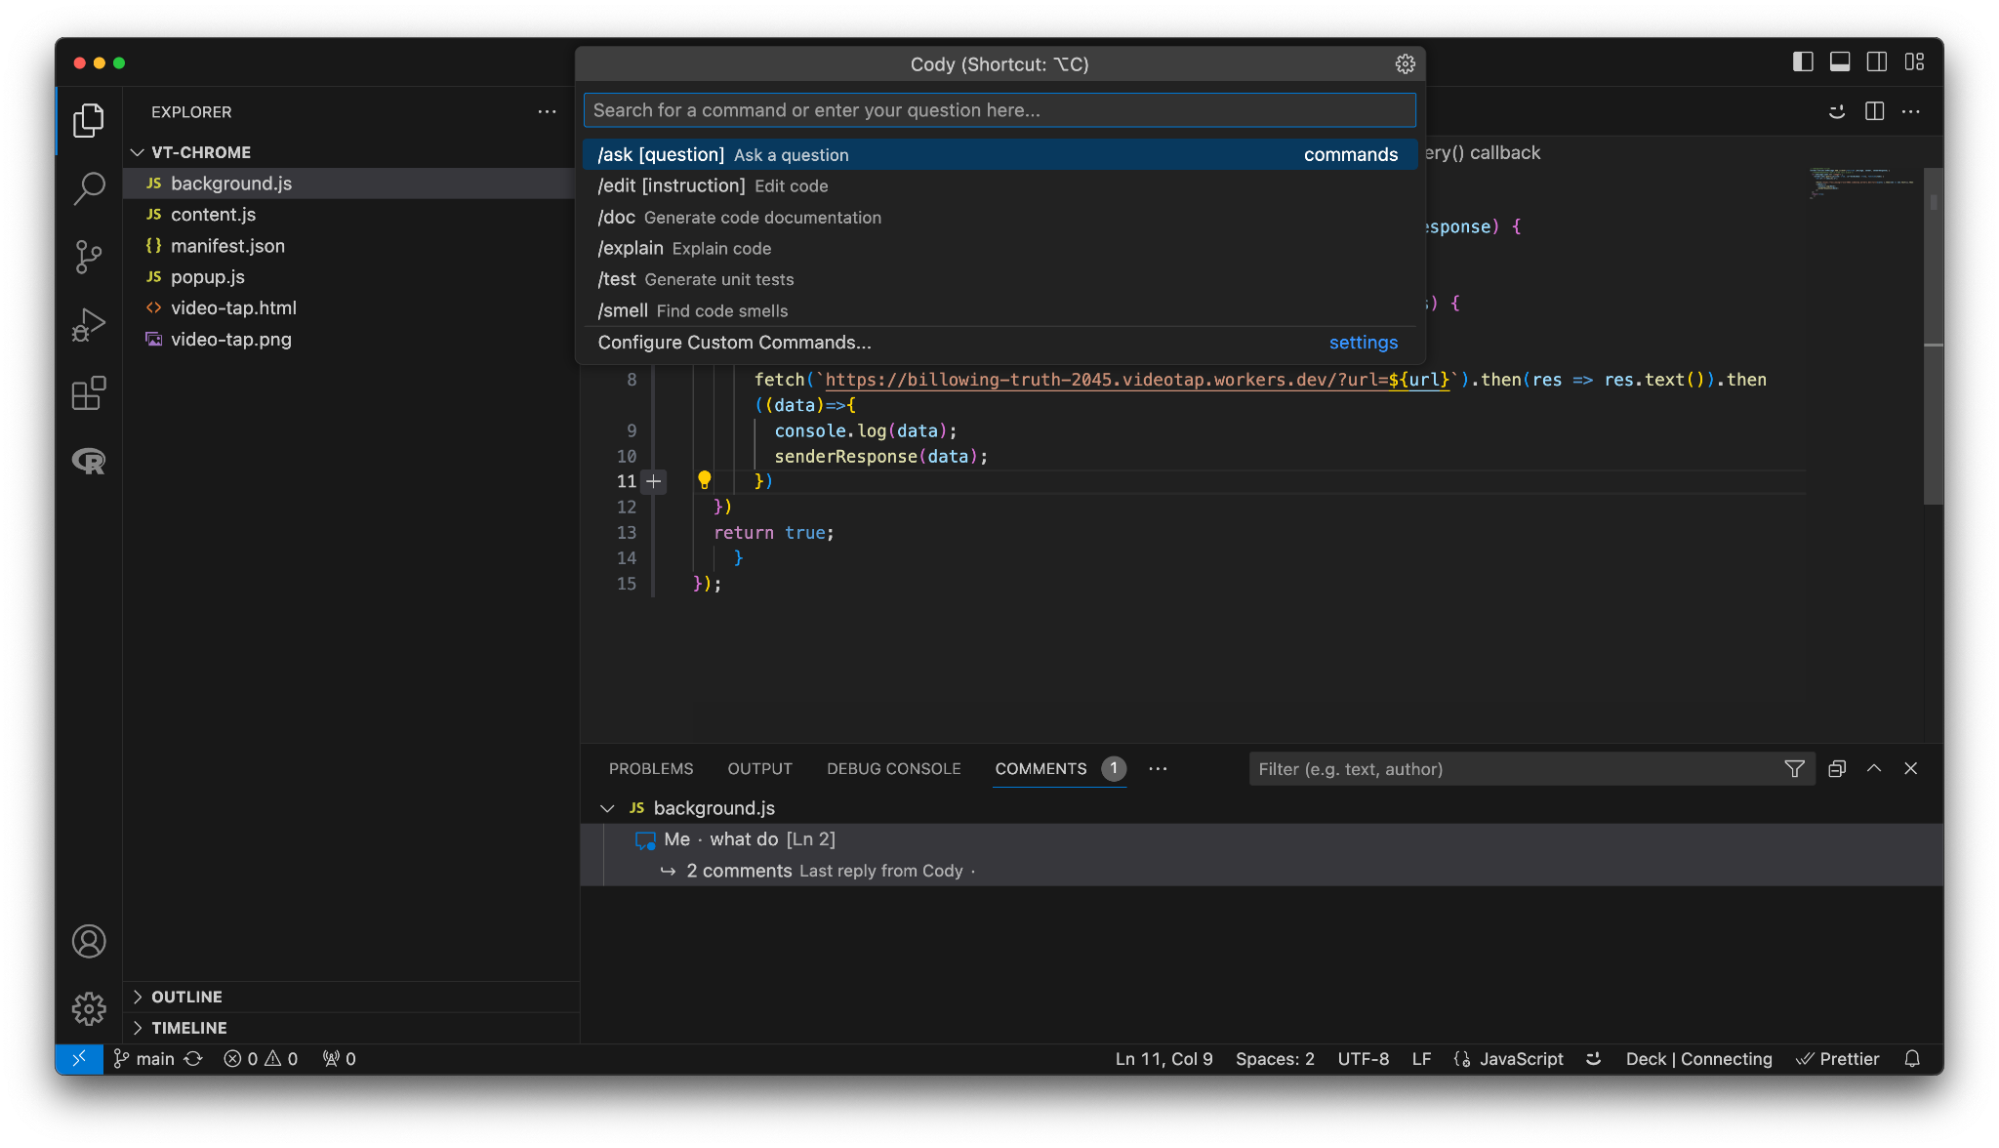
Commands
As developers, one of the first things we learn is not to repeat ourselves. If we end up writing the same piece of code more than a few times, we abstract it out into a function. We also learn early on that it's best to keep it simple, stupid silly. Our code AI assistant should also follow these principles.
With Cody, we have a feature called commands that helps developers run repetitive tasks easily. Our built-in commands can help you explain and document code, generate unit tests, or find code smells. So rather than having to type in the chat box "explain this code to me" over and over again, you can simply execute the /explain command. This becomes very useful with commands like /test where Cody will figure out what testing library it should use. Cody then goes out and generates the appropriate unit tests for your code.
Cody also allows you to define your own custom commands. So, if you find yourself writing the same prompt over and over and over again, turn it into a custom command.
The Option + C shortcut will bring up the Cody commands window, allowing you to execute any of the prebuilt as well as any custom commands you define. You can additionally execute any of the commands within the Cody Chat prompt window by starting your query with /.
CodeLens Support
One of the first things I enabled with Cody was CodeLens. This adds a Cody link above every function definition and, once clicked, brings up the Cody command palette. The best part is the CodeLens automatically highlights the relevant code, so when I want to make edits to a particular function I can save time by not having to highlight code manually.
Here's an example of using the Cody CodeLens to add functionality to an existing function.
What I love most about the CodeLens functionality is that it highlights the specific function for me and the changes that Cody recommends are strictly on that highlighted piece of code.
Shortcuts and settings
We covered a lot of shortcuts in this article, but there are a few more shortcuts and features that you should be aware of.
Command + Shift + V opens up the /edit command window allowing you to quickly ask Cody to fix, enhance, or change a piece of code. You can also use it to add new code. For example, let's say we wanted to add an additional event listener for a different element in our Chrome extension.
Our existing code might look like this:
document.getElementById('add-text').addEventListener('click',  function()  {
  const  text  =  document.getElementById('text-input').value;
  chrome.runtime.sendMessage({action:  "addText",  text:  text});
});
We could accomplish this a couple of different ways:
-
Start typing and let Cody autocomplete the code for us.
-
Copy and paste the existing function and change the values
-
Use Cody edit to generate the new code
Let's see how option three would work. We'll navigate to a line below our existing implementation. Hit Command + Shift + V and ask Cody to do it for us.
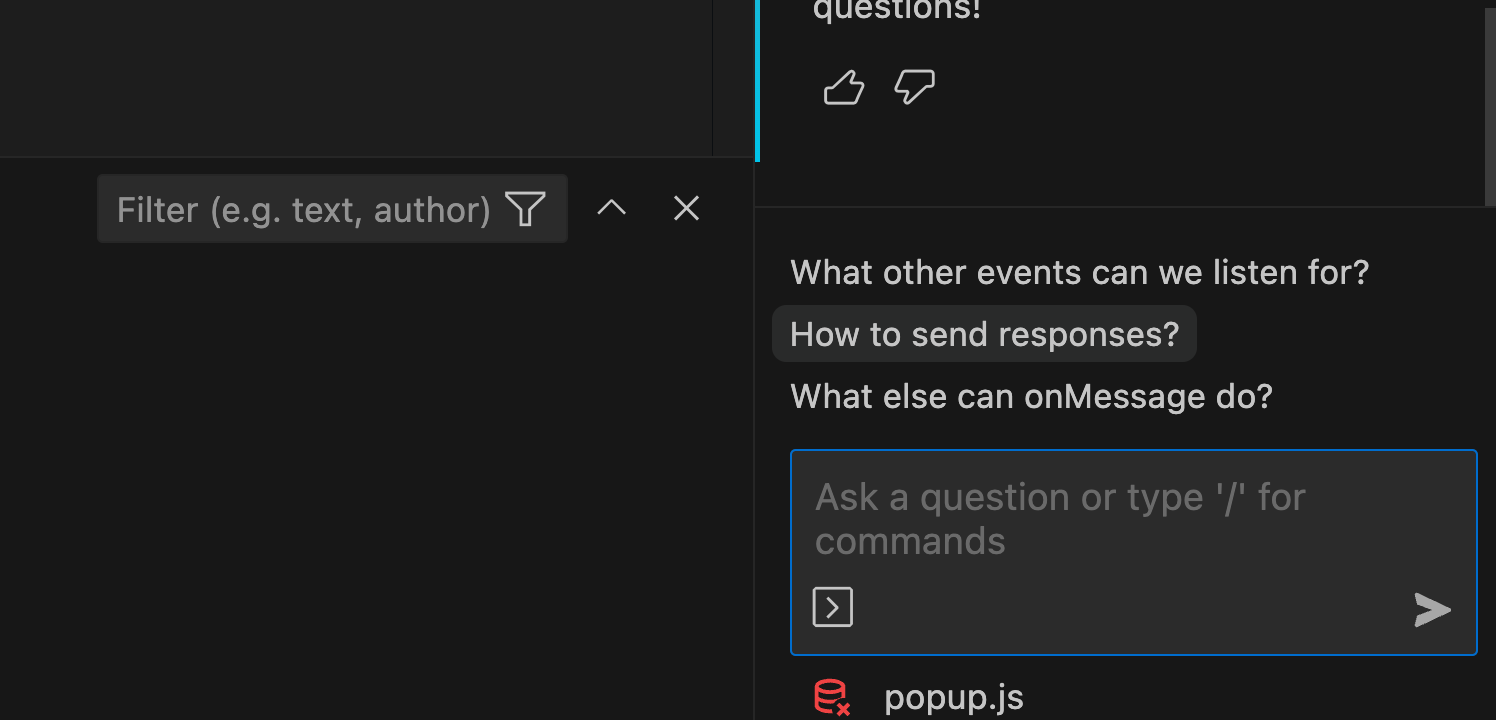
Another feature that I find really valuable with Cody is Chat Suggestions. Enabling this in the settings will allow Cody to suggest follow-up questions that can help you get better context and deeper understanding of the code you are working with. In my example, I asked what the codebase for the Chrome extension I am building is doing, and Cody suggested a list of good follow-up questions that I may want to know.
Conclusion
Today we covered how to leverage Cody for Visual Studio Code, but Cody also works with most JetBrains IDE's as well as Neovim. We'll have separate blog posts that cover these IDEs in the future.
We built Cody to be the best code AI assistant for each individual user. We know that every developer is different and has different preferences for how they set up their workflow, and with Cody, we wanted to put you in control of how you interact with the tool. If you prefer a GUI, the Cody Chat experience is familiar and welcoming. If you are a minimalist, Cody offers a variety of shortcuts to accomplish the task at hand. And if you aren't already using Cody, why not give it a shot and try it today.